We are now developing the next generation of IoT sensors, providing devices with local intelligence to measure a wide range of different physical parameters, process this data locally, and share the data in the cloud. We are also being asked to increase the performance of these sensors, as they should be able to process and share more and more information from multiple sensors, while consuming as little power as possible. These devices are actually being asked to work overtime while consuming less. There is now a lot of discussion about how we will achieve this and how we will push these products forward in the future. Many today rely on chemical battery technology to provide the necessary power, and questions are raised as to whether this is the best way to power IoT sensors in the future.
Using batteries today is becoming more and more difficult. Legislation such as the European Battery Directive makes us responsible not only for the battery during use, but also for its disposal at the end of its useful life, which often adds cost and complexity to the disposal of a product. The materials used by the batteries themselves are also coming under increased scrutiny. What is the origin of the materials used? Where do they come from? Have they been provided from an ethical source? Are they sustainable? These are all questions that we need to find answers to, especially with the demand for battery material set to increase massively in the coming years due to the demand for electric vehicles. Other issues, such as the form factor or even the weight of the batteries required, will also become more prominent, driven by applications like wearable devices and medical sensors.
We have often had other requirements as well. Many applications require longer product life than can be achieved with traditional battery technologies, resulting in increased demand for more esoteric and expensive battery technologies such as lithium thionyl chloride batteries. These can offer a useful life of up to 10 years or more in some applications, but at a cost, both to the environment and to the product.
An application such as a monitoring sensor structure can be integrated into a bridge or building for many years, and it can be difficult and expensive to provide access to the sensor to replace or recharge a battery. The cost of stopping traffic on a bridge, just to replace the batteries in a sensor, would be prohibitive, so for many applications it's a good idea to find another source of power.
Harnessing energy to power sensors from the energy present in the environment helps solve many of these problems, providing the ability to recharge or even eliminate the need for batteries and supporting applications that can run almost indefinitely without external intervention.
This article will discuss the development of a simple battery-free IoT sensor, which measures temperature and humidity and shares the data in the cloud via a LoRaWAN® radio. This application will run on a low power microcontroller, which can be powered from a small solar cell, store the energy of the solar cell in a supercapacitor, and control the power in this solar cell to manage the power supply to the sensor and to the radio. LoRaWAN®, thus optimizing the energy efficiency of the application.
The first component we choose is the microcontroller. As the brain of the system, you must not only manage system operation and all system processing requirements, but you must do so with available power. The Renesas RE01 family of microcontrollers has been developed to do exactly this. Implemented in a unique ultra-low power process, it is capable of operating at high speed and low voltage while consuming very little power.
The RE01 consumes less than 25 µA/MHz in active mode and only 100 nA in “Deep Sleep” mode. The RE01 has a single power supply architecture with multiple internal and external power domains, capable of operating up to 64MHz and up to 1,62v. The device also comes with a wide range of low-power on-chip peripherals, including an ultra-low-power 14-bit analog-to-digital converter that can sample data while the entire chip draws less than 4 µA.
The RE01 also has a unique power harvesting controller that allows the device to operate with starting currents as low as a few µA and provides support for managing supercapacitors and external rechargeable batteries. The RE01 can use an on-chip internal low-dropout regulated power supply to supply power internally; Or to save power, you can turn off your internal supply and use a much more efficient external DC-DC converter to reduce power consumption. In the case of the evaluation board, the external power supply design using the Renesas ISL9213 can reduce power consumption by nearly 50%. These features make this device the ideal solution for building an energy harvesting application.
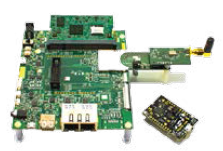
We will build this app around the RE01-256K evaluation board, which includes several hardware connectors, such as an Arduino Uno interface that allows for easy prototyping of this app. This board also comes with a Memory in Pixel (MiP) graphics LCD expansion board that includes a TN0181ANVNANN MIP display, allowing us the ability to provide a visual indication of status while consuming less than 1µA current on average. The board is also designed to support power harvesting, as it also comes with a Panasonic AM-1815CA amorphous solar cell that can be directly connected to the RE01 on-chip power harvesting controller. The AM-1815CA provides an ideal tradeoff, providing enough power to reliably operate the sensor without being so large as to increase the sensor's footprint.
We have chosen the Renesas HS3001 high performance relative humidity and temperature sensor. It is a fully calibrated, highly accurate temperature and relative humidity sensor with fast measurement response time, long-term stability, and most importantly, it consumes as little as 1,0 µA during operation. The HS3001 comes in an extremely small 6-pin LGA package and a small evaluation board is also available, making it ideal for this application.
An integrated temperature compensation and calibration logic provides fully corrected temperature and relative values via a standard I²C interface. Measured data is internally corrected and compensated for accurate operation over a wide range of temperature and humidity levels without the need for user calibration.
We have selected the AVX Super Capacitor (part number SCMQ14C474PRBA0) which can be easily added to the RE01-256K evaluation board to provide the energy storage element, the AVX Super Capacitor.

The last major component we have chosen is the SX1261 sub-GHz LoRaWAN® transceiver. The SX1261 is suitable for the European market, but can be easily replaced with the SX1262, which is optimized for other markets, such as the US. In this design, for ease of development, we will be using an SX1261-based Arduino board that can be easily mounted on the RE01-256K evaluation board, but users can easily replace it with a LoRa module on the SX1261 device.
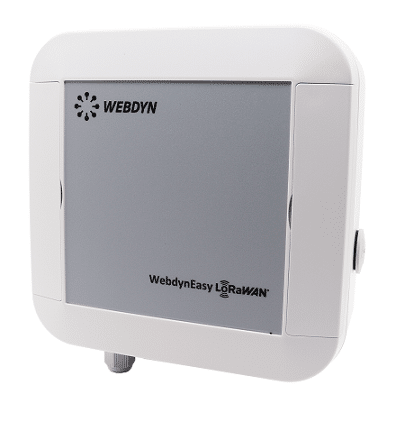
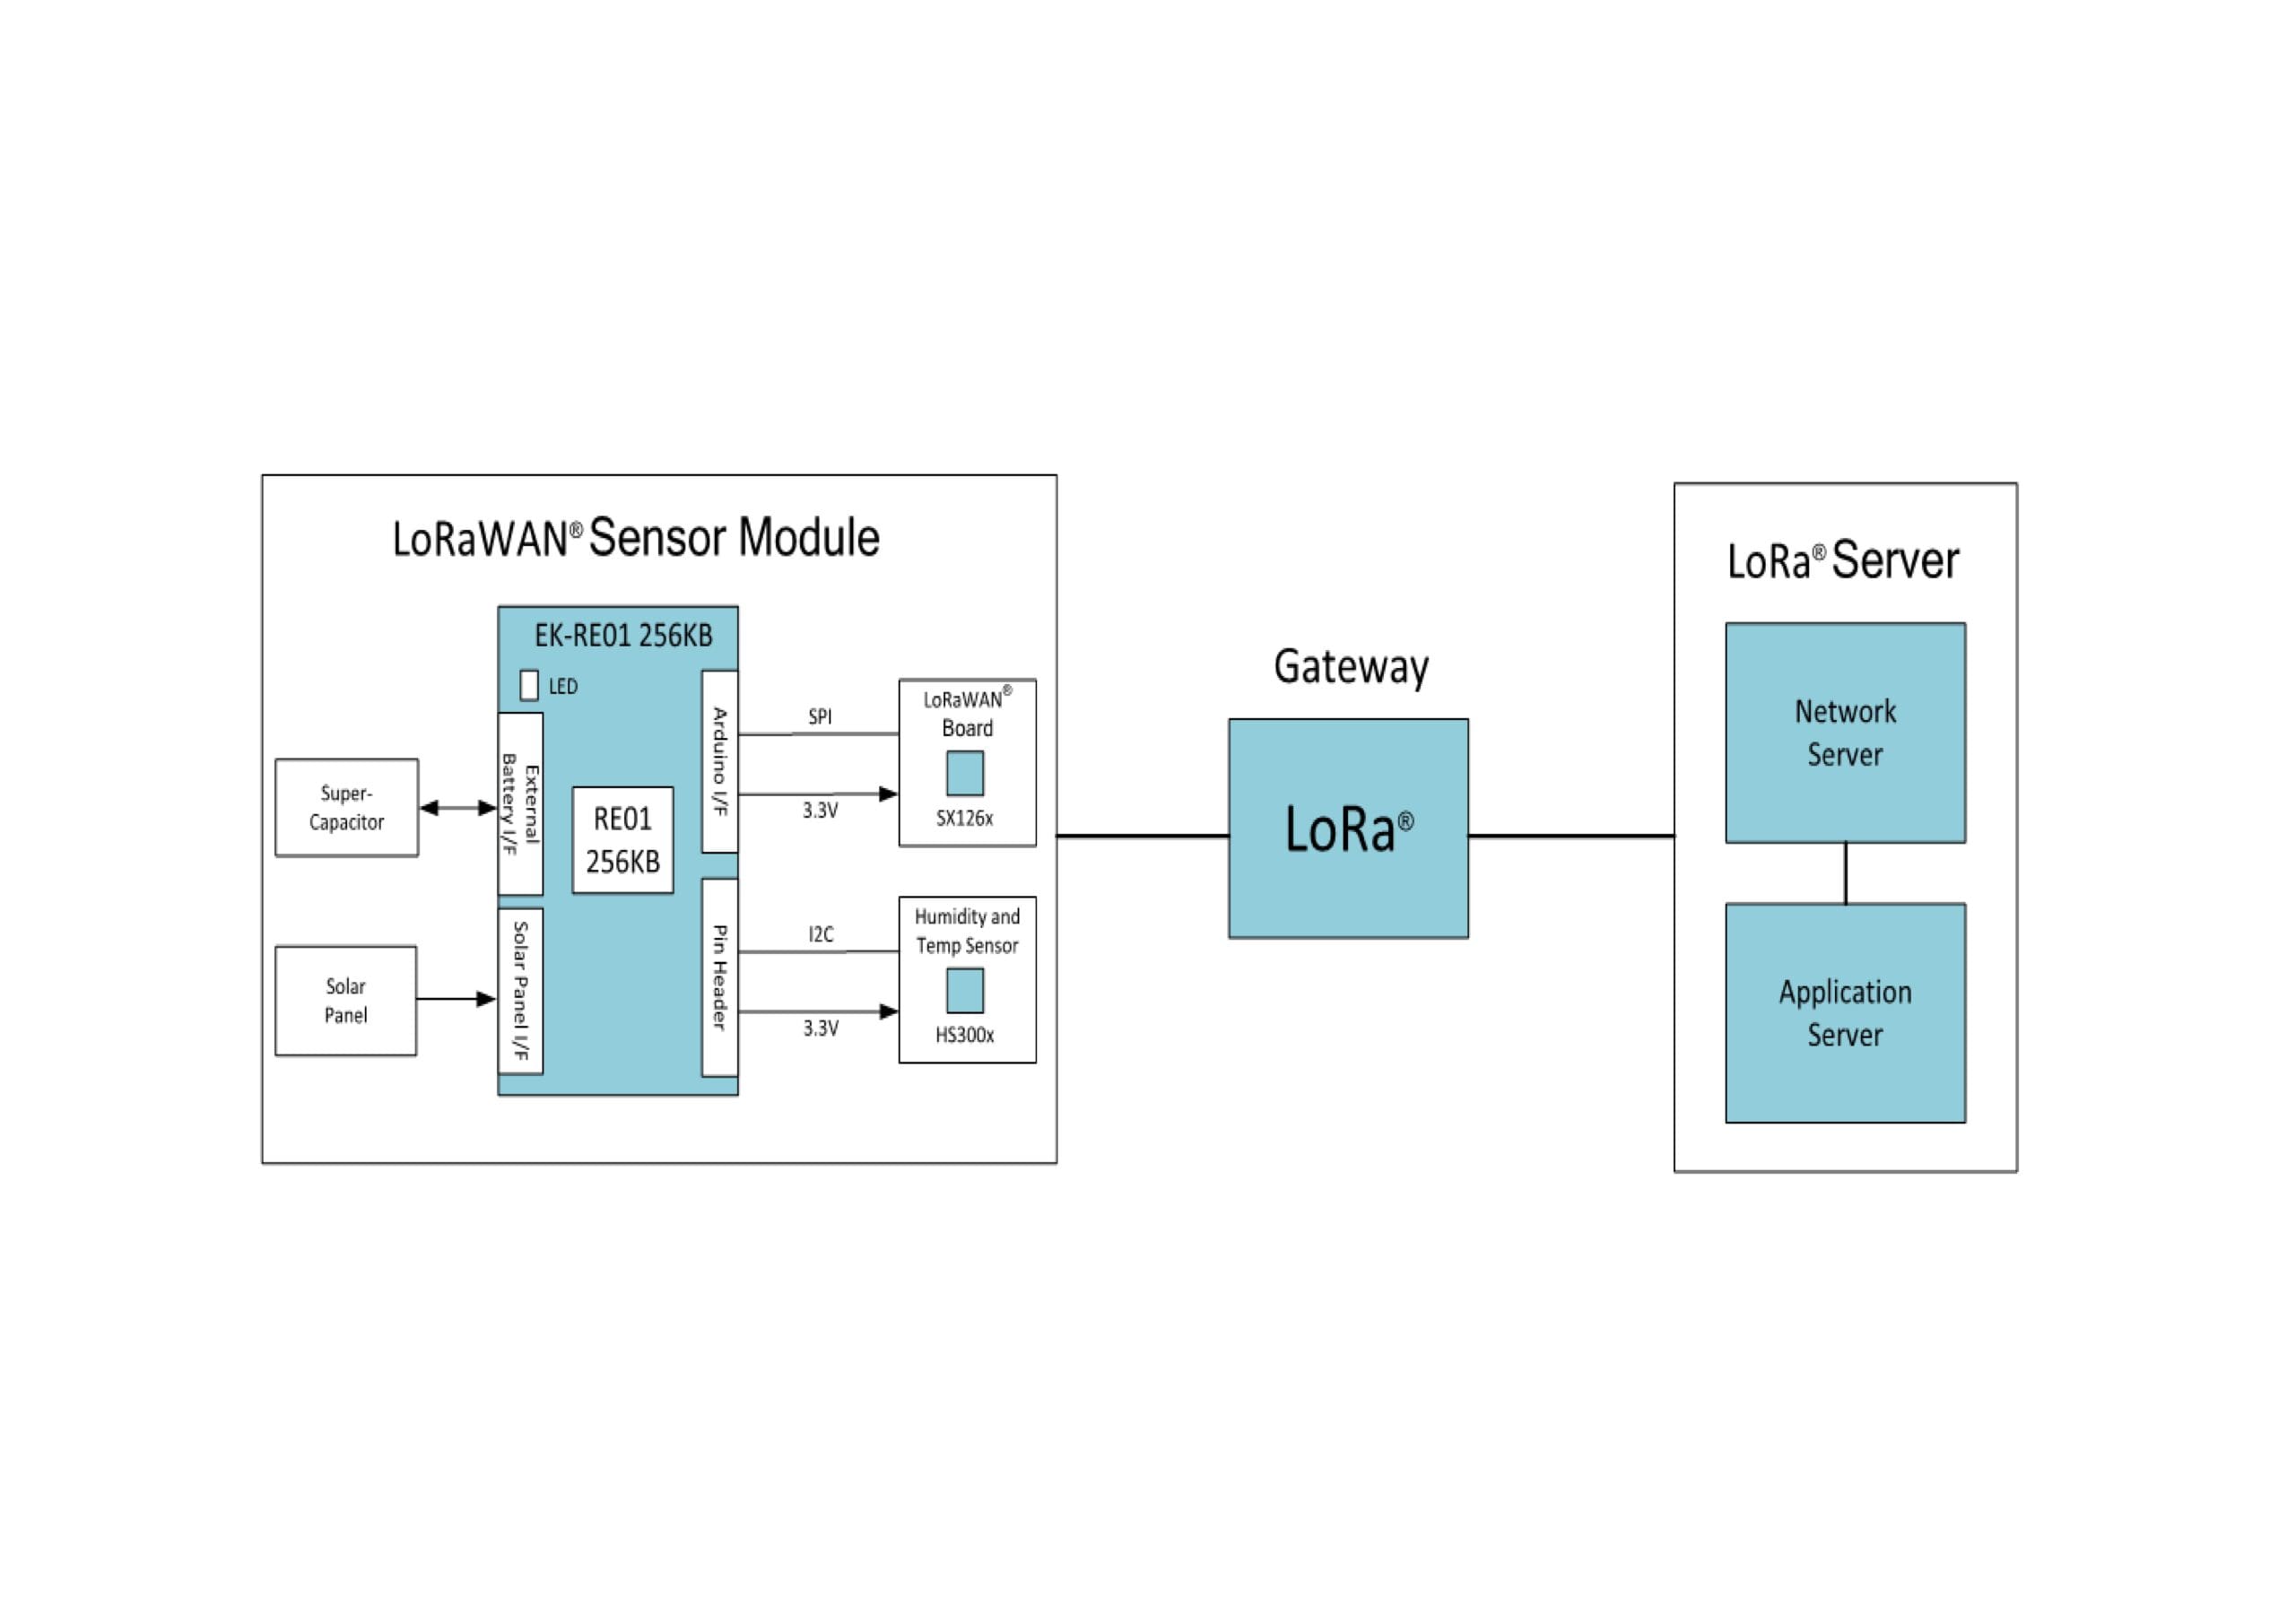
A LoRaWAN® network architecture is configured as a star-of-star topology, in which a LoRaWAN® gateway is used to send messages between end devices and a central network server. The gateway acts as a transparent bridge that converts LoRaWAN® packets to IP packets and vice versa to provide a robust and easy-to-configure connection to the central server.
In this design, we will design our battery-free sensor to behave like a simple LoRaWAN® Class A device. LoRaWAN® end devices like our sensor are generally classified into 3 different classes: Class A, Class B, and Class C, where each of these device classes addresses different application requirements.
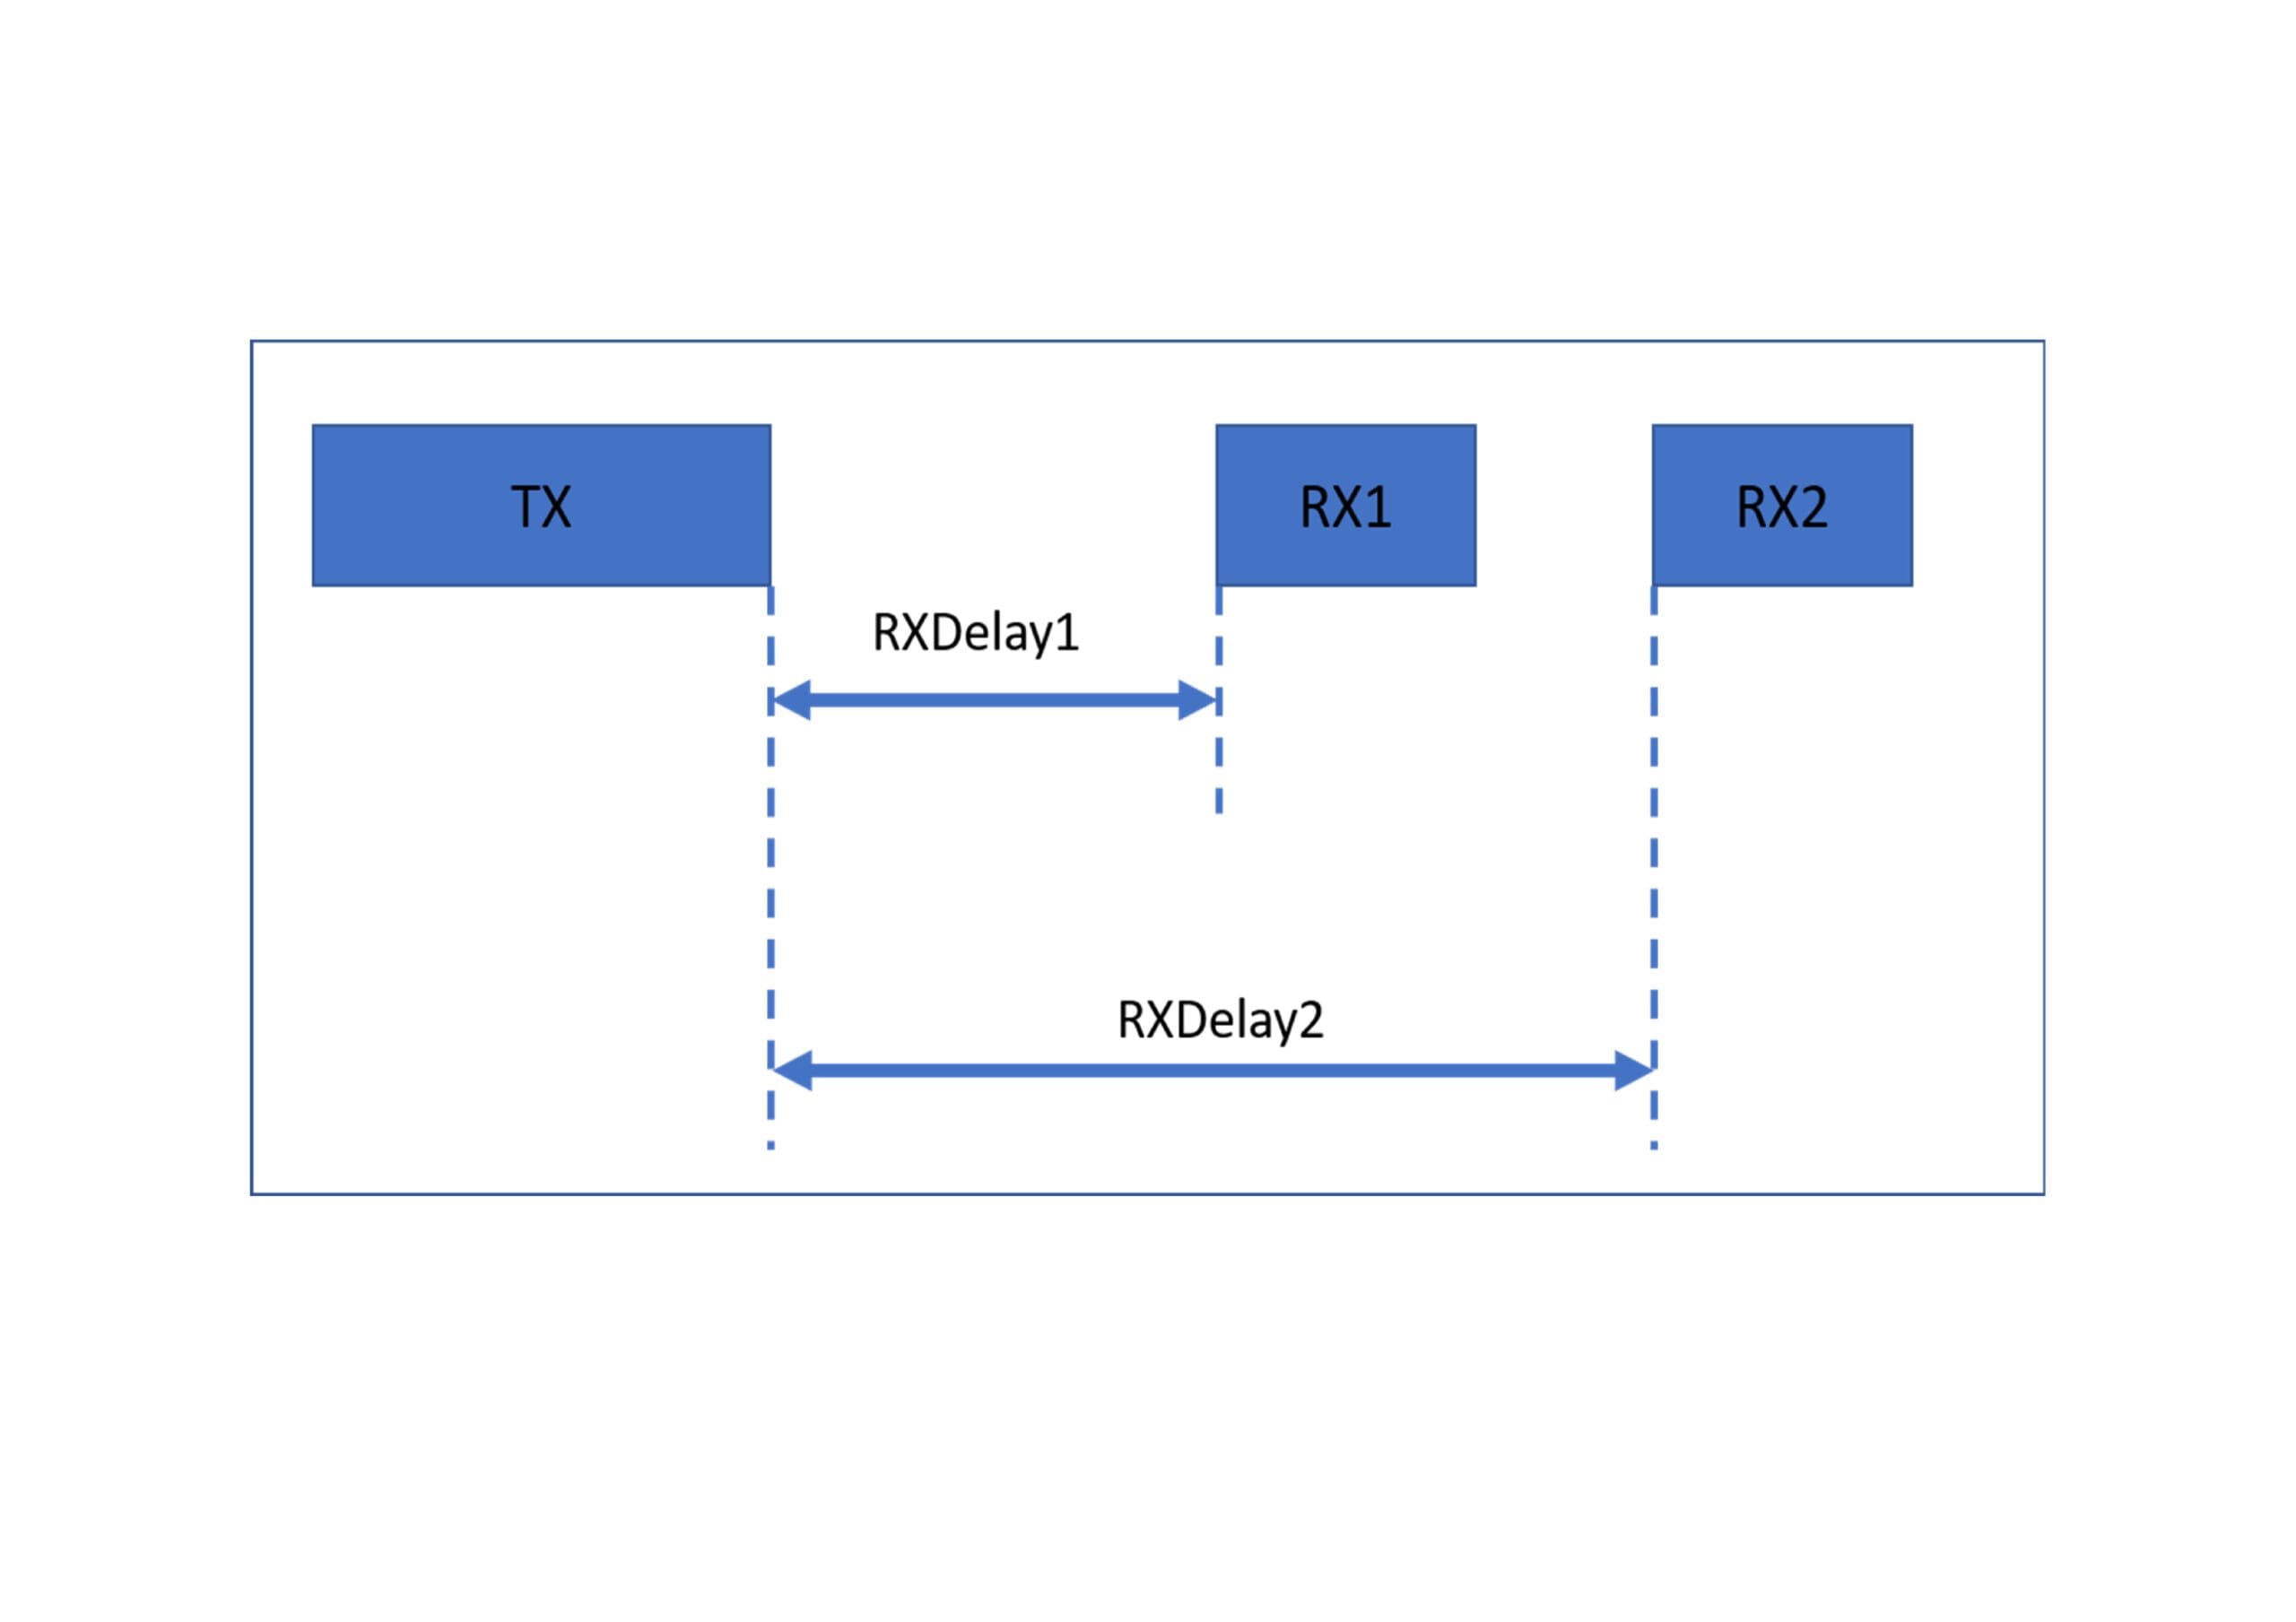
Class A devices are the default class and the features should always be supported by all LoRaWAN® end devices. They are also the class of device that consumes less power. In a class A device, communication is always initiated by the sensor and is bidirectional and fully asynchronous. The sensor can initiate an uplink transmission at any time and it is followed by two short downlink windows, RX1 and RX2, as shown in Figure 3. The timing of the downlink windows can be controlled by both the sensor as by the LoRaWAN® server.
Class A devices can enter a low power mode under application control and there is no requirement on the network for regular communication. This is why Class A is normally the best class to select when low power consumption operation is required. In this case it is ideal for our sensor application since we only require occasional communication to update our data in the cloud.
Class B devices add receive windows to the Class A specification. Class B devices synchronize with the network using periodic beacons and open downlink "ping slots" at scheduled times. This provides the network with the ability to send downlink communications with deterministic latency, but at the expense of additional power consumption at the end device.
Class C devices reduce latency on the downlink by keeping the receiver of the end device open when the device is not transmitting (half duplex). Based on this, the network server can initiate a downlink transmission at any time assuming the end device receiver is open, so there is no latency. This means that class C is only suitable for applications where continuous power is available.
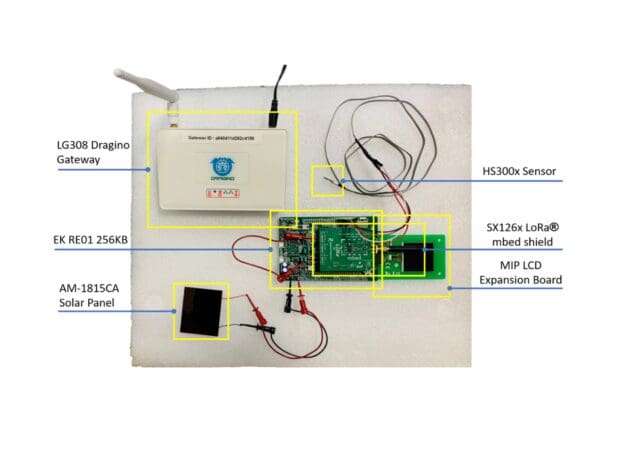
For this application, we will create a proof of concept for the sensor by mounting the Arduino Semtech LoRaWAN® board on the RE01-256K evaluation board to create the sensor assembly as shown in Figure 4.

We can add the AVX supercapacitor to the evaluation board, add the HS3001 temperature and humidity sensor, and connect the MiPs display using the Pmod connector to give us a method of locally displaying application status. This gives us a complete sensor and we only need to add the application software.
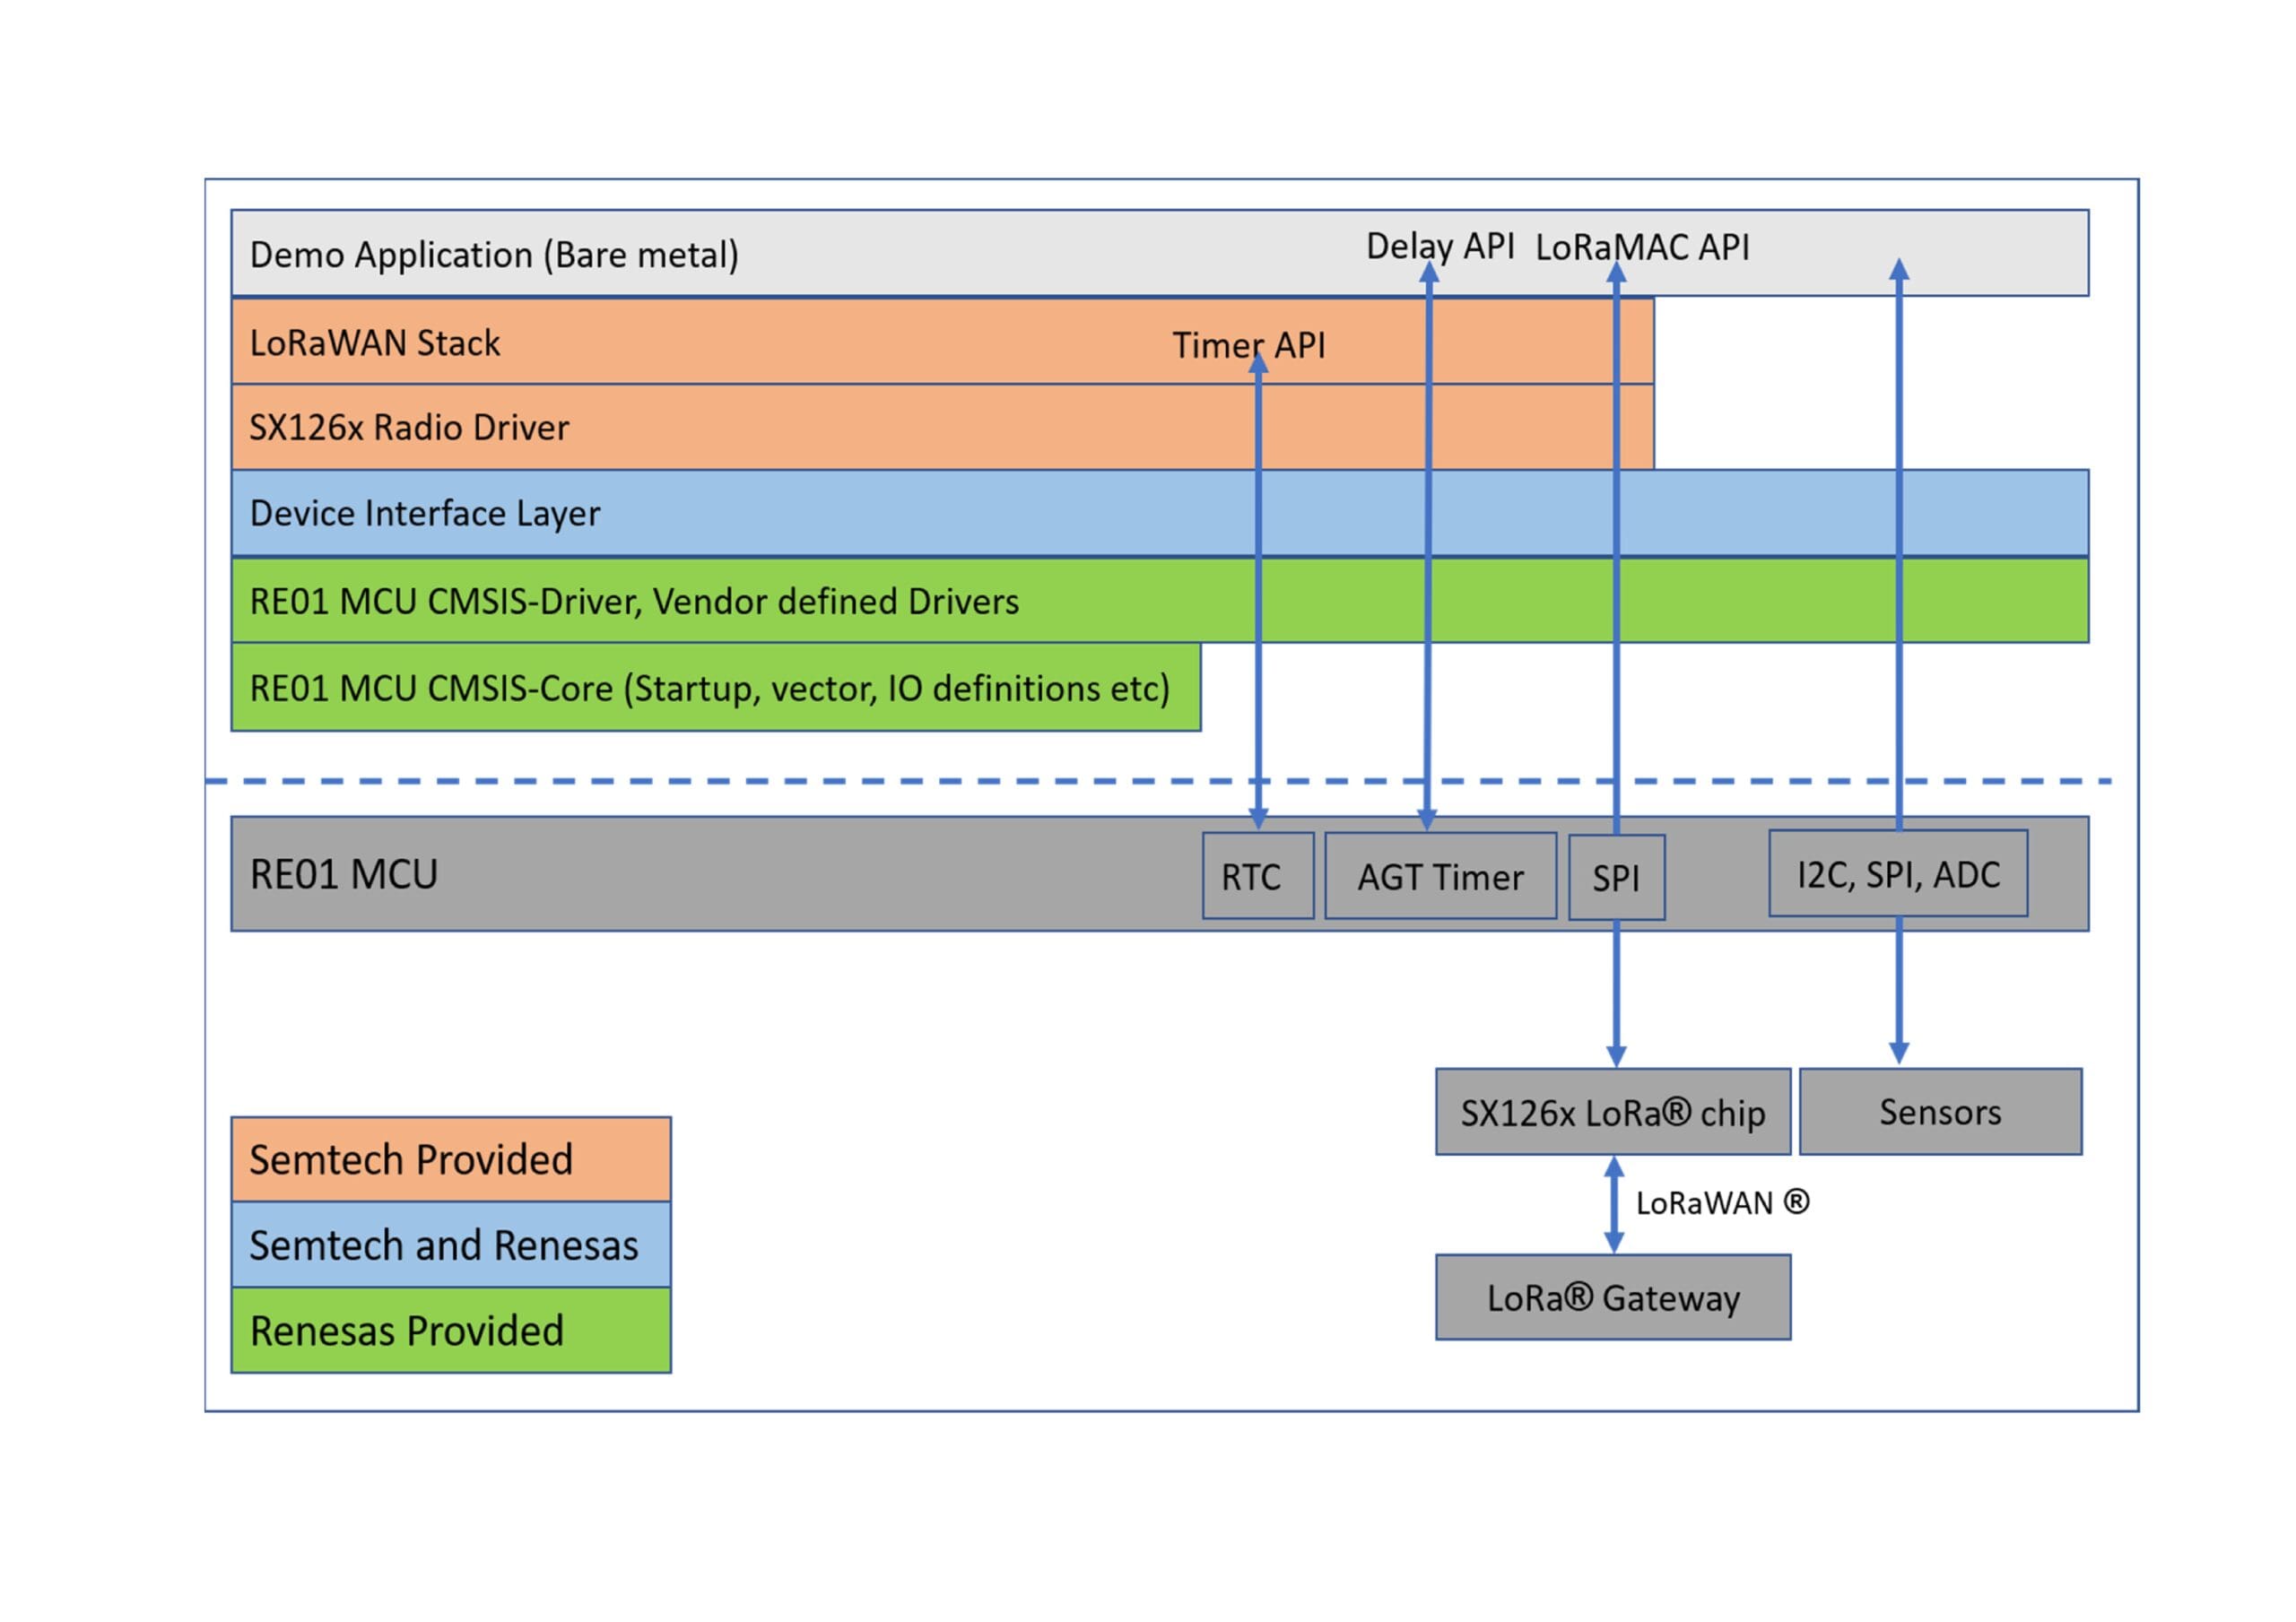
The application software architecture required to run the sensor is shown in Figure 5. This application is built on top of the RE microcontroller CMSIS drivers, which provide a user-friendly hardware abstraction layer built on top of the RE01 chip hardware. These drivers allow us to easily control the various peripheral functions of the chip without requiring detailed knowledge of how the chip works.
We have also developed an interface layer between these controllers and the SX1261 controller and the LoRaWAN® protocol stack provided by Semtech. Our simple sensor app is based on all of these components.

Figure 6 shows the main routine of the sensor application documented in the flowchart. The main application will start once the energy harvesting controller has detected that we have enough power in the supercapacitor to run the main routine and provide enough power to operate the sensors and radio.
To minimize power consumption, we copied part of the main Flash application to SRAM and initialized a low power timer to generate an interrupt at 30 seconds to create the system cycle time. We then initialize all power control systems, including the DC-DC converter and low voltage detection circuitry. Next, we set the MiP screen to display a logo screen. We then initialize the LoRaWAN® radio and check the voltage on the super layer. If it is too low, we enter a low battery mode to allow the voltage level to recover.
The app then joins the LoRaWAN® network, reads the sensor data, updates the MiP screen and sends the data over the LoRaWAN® radio. Finally, we safely close the app and go into standby mode until the 30 second timer wakes up the app and restarts the app for the next cycle.
Figure 7 shows the typical power consumption profile for this sensor application with a 30 second cycle time. With this cycle time, the application has an average power consumption of around 400 µA.
For many applications, it is not necessary to share the data as regularly. For example, temperature and humidity rarely change so quickly. Since the radio uses most of the power in this application, increasing the cycle time in which the application operates can significantly decrease the average current draw.
The complete software project for this application can be downloaded from the Renesas website.
The development of this application has shown that it is possible to build a complete IoT sensor application that can be safely powered by a small solar cell, without the need for a battery. Depending on the lighting conditions in which the application is used, it is possible to measure the temperature and humidity once every 1-2 minutes, send the data to the LoRaWAN® Gateway and share the data in the cloud.
It is also possible to use the same basic hardware and application software structure and replace the supercapacitor with a rechargeable battery if a different set of performance characteristics is required. The use of readily available evaluation boards and a simple, downloadable software stack make it easy to test this architecture and start developing a battery-free sensor.
A full description of how to build this application, including details of the various components used, how to access the software components, how to use the LoRaWAN® Gateway, and how to connect, is available in the application note mentioned in the referenced documents list. the application to the cloud.


