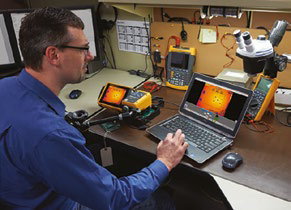
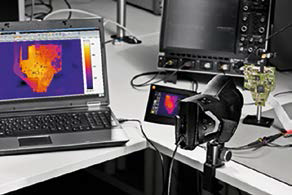
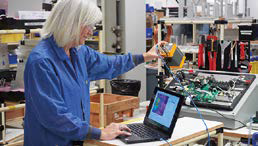
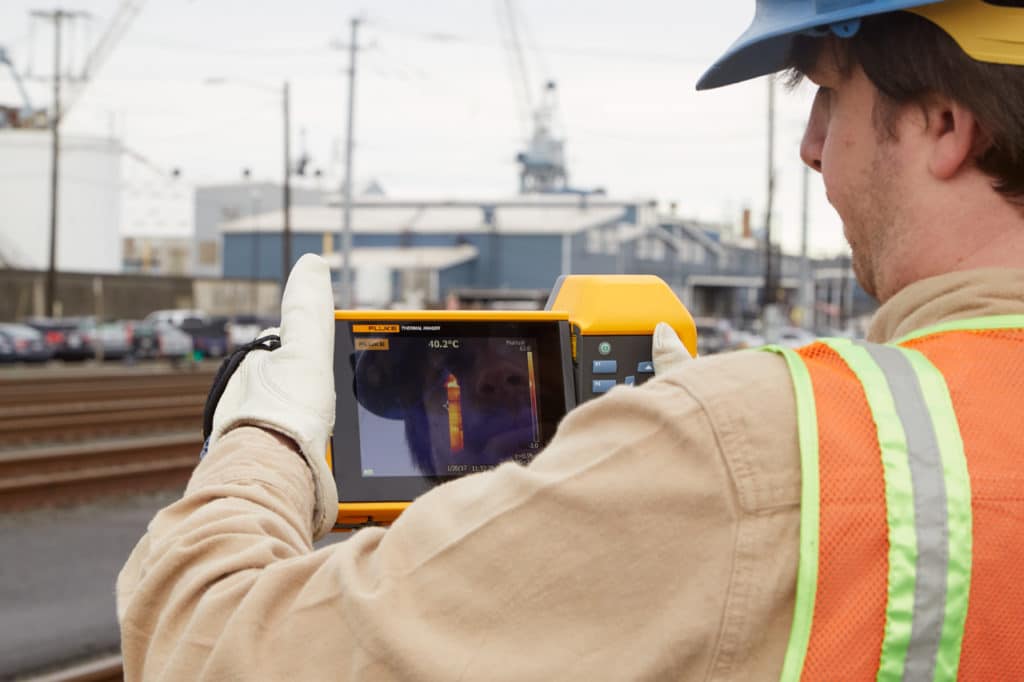
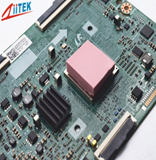
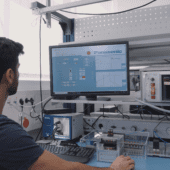
Whether you're designing or prototyping printed circuit boards, developing new materials or products, or analyzing laminar flow patterns in a streamlined design, thermography plays a critical role. Analysis of characteristics such as temperature, heat dissipation, latent heat, and other temperature-related material properties can uncover many potential issues early in the development process to ensure quality and prevent failure later on.
The technology has the potential to provide important information for a variety of applications, from materials analysis to component design to controlled chemical reactions. Infrared are ideal instruments both for scientific studies and for analysis and resolution of development problems at both an early and late stage, because they collect thermographic information without physically coming into contact with the object and without interfering with the process. Understanding what really happens in any situation normally depends on the correct understanding and control of the variables that can affect the material or the device analyzed. Using a non-contact thermal imaging camera to document and measure the performance or changes in thermodynamic properties of the object being tested often eliminates the variations that a contact temperature device such as an RTD or other temperature probe might introduce. contact. In addition, a thermal imaging camera can collect many more simultaneous data points than could be collected using contact sensors.
These simultaneous data points are combined to form a detailed color picture of the thermal patterns at any time. This possibility is invaluable to engineers and scientists, who understand the basic principles of thermodynamics and heat flow, and have specific knowledge of the material or design being discussed.
Get the detail and precision you need
Infrared inspection and analysis for R&D covers a wide range of applications, from identifying thermal anomalies in circuit board components, to monitoring phase changes in plastic injection manufacturing, and test analysis. non-destructive testing of multilayer or carbon fiber components. Although the details of these applications vary greatly, they all benefit from the use of cameras thermographic images with a high level of precision, excellent resolution
TOP 6 R&D application areas for these Expert Series thermal imagers
- Research and development in electronics
- materials engineering
- Chemistry and biology
- Product design and validation
- Geothermal, geology and earth sciences
- Aerodynamics and space aeronautics and measurement, high thermal sensitivity and good response. Fluke offers thermal imaging cameras that provide all of these capabilities with a versatile set of features essential for many types of R&D applications. The combination of high resolution and optional macro lenses enables close-up capture capabilities that produce detailed, information-rich images, including apparent temperature calculations for each pixel. Each of the images can provide a large amount of data on its own. If you capture multiple images or transmit radiometric information, the amount of data grows exponentially. All those who undertake R&D tasks appreciate the value of having useful, accurate and analyzable information. Users can easily access this data from the included SmartView® software, then export it and apply their own analysis and algorithms. The high thermal sensitivity of these thermal imaging cameras, combined with an unprecedented spatial resolution, allows for radiation analysis that was previously not possible with most products available on the market. Thanks to this, a more exhaustive and precise analysis of various material properties is possible.
Research and development in electronics
- Detection of localized problems of excessive temperature
- Characterization of the thermal behavior of semiconductor components, conductors and substrates
- Establishment of appropriate cycles
- Assembly Impact Analysis
- Validation of projections for thermal modeling
- Evaluation of collateral damage caused by the proximity of heat sources
materials engineering
- Phase change analysis
- Residual or repeated thermal stress analysis • Non-destructive analysis, including inspection and analysis for delamination, voids, moisture ingress and stress fractures of composite materials
- Surface radiation analysis
Chemistry and biology
- Monitoring of exothermic and endothermic chemical reactions
- Analysis of biological processes
- Supervision and analysis of environmental impact
- Plant and Vegetation Studies
Product design and validation
- Characterization of the thermal performance of a product
- Characterization of the properties of the materials of a product
- High-speed thermal performance monitoring and analysis
Geothermal, geology and earth sciences
- Monitoring and analysis of geothermal formations and processes
- volcanic studies Aerodynamics and aeronautics
- Characterization and analysis of laminar flow
- Non-destructive testing (NDT) of structures and composite materials
- Stress and deformation analysis
- Powertrain Performance Analysis
Examples of the added value of infrared inspection Analysis of printed circuit boards
- Detection of localized problems of excessive temperature.
Design engineers must combine high-power, solid-state transformers that dissipate a lot of heat, high-speed microprocessors, and analog-to-digital (A/D) or digital-to-analog (D/A) converters in one package. very small.
- Establishment of cycles.
Set up your thermal imaging camera to record thermal measurements while a weld cools so you can define cycles in automated systems. You can annotate key points via voice and text for quick review.
- Assembly impact analysis.
Perform quality checks at various points in the development and manufacturing processes to ensure you catch any issues early and prevent costly component failures in the future.
- Validation of thermal modeling.
Using thermal modeling software gives a good estimate of what will happen when you fill a board with components, although this is obviously still just a simulation. You can easily validate those results by comparing your thermal CAD model to the results from the camera as you fill the component board and activate them. You can then explore the entire activated prototype and compare the results with your model to see the differences and similarities.
- Collateral damage assessment.
Sometimes the heat given off by a circuit board can affect the performance of other system components, for example it can cause an LCD screen to get too hot or interfere with mechanical operation. To avoid these situations, you can assess how much heat is dissipated throughout the system and find out how that heat affects other parts of the system. Start by capturing an image of the drive running with the cover on. That image shows the temperatures of all the components in operation.
Next, remove the cover and make a radiometric video recording of the temperature decay curve. You can then export a set of maximum temperature points to a spreadsheet and extrapolate the resulting curve back to time zero to see what the component's temperature was before the lid was removed.
materials engineering
- Phase change analysis.
Changing the phase of a product from solid to liquid is a process that typically consumes a lot of heat, while changing from liquid to solid results in the release of a large amount of latent heat. If that additional heat has not been accounted for in the phase change process, it can cause a component to warp. The reason for this is that the material remains in a liquid state for longer than expected while the component continues to produce heat and deform. Analyzing the phase change process with a thermal imaging camera will give you an accurate picture of how long the process will take so you can adjust your heat application accordingly.
- residual heat stress
it can strengthen a product or it can cause warping or even breakage due to a problem with the materials or the heating and cooling process. Using a camera to analyze the actual production process compared to the thermal model can help identify variations that can affect product quality.
- Non-destructive testing of composite components.
Inspecting composite components with a high-resolution thermal imaging camera can reveal hidden defects such as cracks, voids, delamination, and spalling.
Radiation analysis.
The unprecedented high thermal sensitivity and spatial resolution of Fluke thermal imaging cameras enable more complete and accurate analysis of radiation than was previously possible with most commercially available products.
Keep your development process on track with Fluke thermal imaging cameras
Don't let the inability to understand and quantify thermal issues slow down your product R&D process. Fluke thermal imaging cameras provide a high level of detail to help you quickly detect and document any thermal issues:
- High resolution. Get four times the resolution and pixel count of standard mode (up to 3,1 million pixels on the TiX1000 and up to 1,2 million pixels on the TiX660) with SuperResolution mode and viewing data in SmartView® software and get images sharp and highly detailed.
- Different viewing options with portable thermal imagers with a 5,6-inch screen, which can rotate 240 degrees, or mounted thermal imagers that allow continuous data transmission to your computer.
- Advanced and versatile focus options enable fast and accurate capture of images that are always in focus, saving the user time and providing more detail so you can spot the most subtle variations.
- Maximum lens flexibility with easily interchangeable lens options such as macro, telephoto and wide angle lenses so you can capture high-resolution images.
- Real-time radiometric recording with voice and text annotations makes it easy to identify points that require further analysis and allows image-by-image analysis of thermal changes and processes.
- Difference comparison (subtraction) allows you to define a reference state and then view and analyze the thermal differences that follow.
- The secondary windows option allows detection of sudden changes in temperature with high-speed infrared images (option to be selected at time of camera acquisition). This allows the user to document and analyze many frames of data per second to better understand sudden changes in temperature.
- The wide temperature range, from -40ºC to 2000°C (-40 to 3632°F), accommodates inspections that require extreme thermal conditions. • Live data visualization and analysis on a computer. Use the included SmartView software to optimize and analyze images and create inspection reports. You can also export the results to a spreadsheet for further analysis and alternate formatting. • Incorporates toolkits for MATLAB® and LabVIEW ® that make it easy to link infrared data to the programs R&D professionals use every day.
Multiply your resources with the wireless capabilities of Fluke Connect®
With the Fluke Connect app, you can stream images and measurements from Fluke thermal imaging cameras in real time to smartphones or tablets with Fluke Connect. You can also share results instantly with team members to improve collaboration and resolve issues faster. With Fluke Connect ® Assets, you can also associate images with machines or assets, view images and other measurements by asset in one place, and generate reports that include other types of measurements. For more information, see the web.
Find out what you're missing
Whether you're designing the mobile device of the future, designing more compact passenger cars, or developing a new stronger and lighter polymer, make sure you have the best possible thermal information. Fluke thermal imaging cameras can give you the image resolution, temperature detail and accuracy, speed and flexibility to help you succeed. To find out how these versatile, high-resolution, high-precision cameras can help you develop better products very quickly, contact your Fluke distributor or visit fluke for more information.


